Configuring Kubos Linux
The default build configurations included in the kubos-linux-build repo will include the Kubos core services, but not any of the available hardware services.
As a result, customers will need to manually enable the services and packages corresponding to the devices present in their system.
Additionally, customers may create and include their own system packages.
Reference Documents
KubOS Version Selection
By default, each release of Kubos Linux will use the corresponding release of KubOS in the main kubos repo.
As a result, if you would like to use the latest code, or version lock on some prior version, the
BR2_KUBOS_VERSION config option should be updated with the desired release number or branch
name.
From the buildroot-2019.02.2 directory, run sudo make menuconfig. This will bring up the graphical configuration interface.
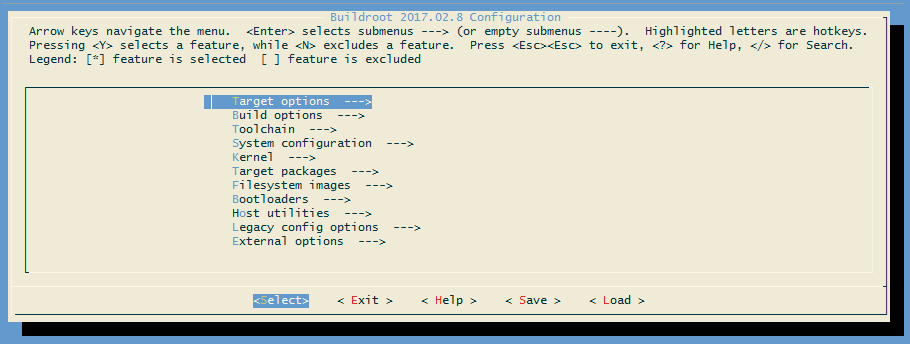
Buildroot Configuration Interface
Using the down arrow key, navigate to External Options. Press the Enter key to enter the sub-menu.
You should see the Kubos Packages option, which has already been enabled.
From here, press Enter to go into the Kubos Packages sub-menu.
The “Kubos Source Version” should be the top field present. Press the down arrow key and then Enter in order to update the field.
Type in the desired version/branch and then press Enter to save the change.
Use the right arrow key to select <Exit> and then press Enter.
Repeat this until you are presented with the
“Do you wish to save your new configuration” dialog. Press Enter to accept the changes.
The new version of KubOS should be automatically built the next time you run sudo make.
Selecting Hardware Services
Once the build environment has been set up, the build target has been set, and, optionally, a full build has been run, you may edit the build configuration to select additional packages.
From the buildroot-2019.02.2 directory, run sudo make menuconfig. This will bring up the graphical configuration interface.
Buildroot Configuration Interface
Using the down arrow key, navigate to External Options. Press the Enter key to enter the sub-menu.
You should see the Kubos Packages option, which has already been enabled.
From here, press Enter to go into the Kubos Packages sub-menu. You should now see all the Kubos packages which can be enabled.
Using the up/down arrow keys, navigate to the package you would like to include and then press the space bar to enable it.
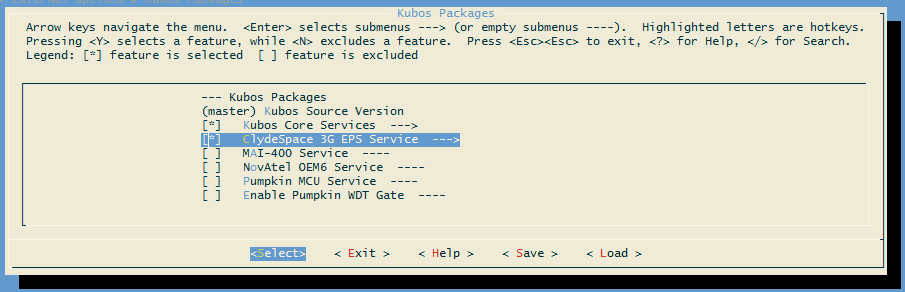
Kubos Package Selection
You will notice that, once a package is selected, an arrow appears to the right of it. This indicates that a new sub-menu is now available.
If you enter the sub-menu, you will be presented with the options for that particular package. For most Kubos services, this will be an option which allows you to specify the run level at which the service will be initialized during system startup, followed by any service-specific configuration values. For non-boolean options, select the option and then press Enter in order to update the field with the desired value. Press Enter again to save the new value and return to the previous menu.
For more information about any of the options in this menu system, navigate to the option and then press Shift+?. This will display the option’s help information. Press the Enter key to exit.
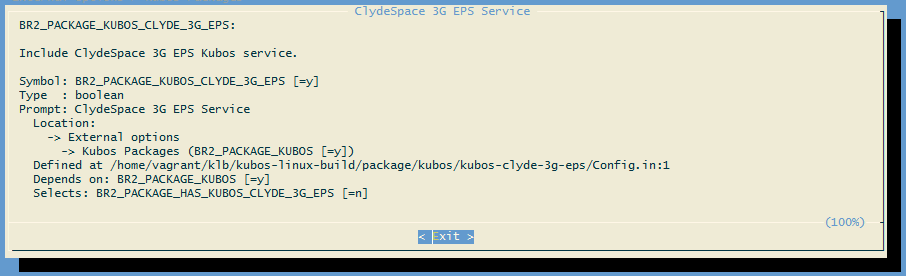
Buildroot Option Description
To navigate back up the menu tree, use the right arrow key to select <Exit> and then press Enter.
Once you have selected all the desired packages and options, select <Exit> until you are presented with the
“Do you wish to save your new configuration” dialog. Press Enter to accept the changes.
Now that configuration is complete, run sudo make in order to build the newly selected packages.
Saving the Configuration for Re-Use
If you would like to save the custom configuration you have created, run sudo make savedefconfig.
This will overwrite the configuration file you intially set for the build. For example, kubos-linux-build/config/pumpkin-mbm2_defconfig.
Going forward, this new file can be fed into any new builds, removing the need to manually select the additional packages.
Adding Custom Packages
While some work has been done by Kubos in order to support hardware devices, it is entirely possible that a customer might want to use a device which is not currently supported. In this case the customer should write their own support package, and then include it in their Kubos Linux build using the previous instructions.
The Buildroot manual provides in-depth instructions about how to create a package.
At a high-level, the instructions are:
Create a new folder, “your-package”, in kubos-linux-build/packages containing at least:
- Config.in - The KConfig file defining
BR2_PACKAGE_{YOUR_PACKAGE}, along with any additional configuration options - {your-package}.mk - The Makefile defining the package and containing the build (
{YOUR_PACKAGE}_BUILD_CMDS) and installation ({YOUR_PACKAGE}_INSTALL_TARGET_CMDS) commands.
- Config.in - The KConfig file defining
Update kubos-linux-build/Config.in to point to your new package’s Config.in file
Once these changes have been made, you can run sudo make menuconfig in order to select the new package.
Once selected, you can run sudo make to do a full build, or sudo make {your-package} in order to test building only your package.
If you make changes to your package, you can run sudo make {your-package}-rebuild in order to recompile it.
Configuring Services
The Kubos service system relies on a configuration file in /etc/kubos-config.toml in order to know which IP ports should be used for which service.
This file is automatically generated during the OS build process, based on the options specified in
the Buildroot configuration file (or updated by the sudo make menuconfig process).
Users may change these configuration options prior to building their Linux image by running
sudo make menuconfig, navigating to the appropriate service package, and then changing the
desired option.
Note
If you would like to change a configuration option after building the Kubos Linux image, you
should go through the usual change process, then run sudo make {package}-reconfigure; sudo make
in order to pick up the configuration changes.
For example, if you wanted to change the telemetry database location, you would update the
BR2_KUBOS_CORE_TELEMETRY_DB_DATABASE value, then run
sudo make kubos-core-telemetry-db-reconfigure; sudo make.
More information about service configuration may be found in the service config doc