Registering a Mission Application
The Kubos applications service is responsible for monitoring and managing all mission applications for a system.
This tutorial walks the user through:
- Registering a new application
- Sending a request to the applications service to start the application
- Updating the application to a newer version
- Verifying what versions of the application have been registered
This tutorial is written to be run entirely within your local development environment, however, you may also interact with the applications service on your OBC by setting up its ethernet connection.
Setup
We’ll be using the example application from the mission application tutorial. Make sure that the manifest.toml file is present in the same project directory.
This tutorial will use the following example directories:
/home/user/my-app- Project directory/home/user/kubos- Cloned copy of the kubos repo/home/user/app-registry- Directory used by the applications service to store registered applications
Create a directory which will by used by the applications service for registry storage
Navigate to the kubos source directory and edit the
tools/default_config.tomlfile to specify that new directory like so:[app-service] registry-dir = "/home/user/app-registry"
If you are using the SDK, update all IP addresses in the
tools/default_config.tomlfile, changing them from127.0.0.1to0.0.0.0, so that they are available to your host machine.Run the following command to start the applications service in the background (the service may need to be built first, which will take several minutes to complete):
$ cargo run --bin kubos-app-service -- -c tools/default_config.toml &
If you have stopped the monitor and telemetry services since going through the previous tutorial, you will need to start those as well:
$ cargo run --bin monitor-service -- -c tools/default_config.toml &
$ cargo run --bin telemetry-service -- -c tools/default_config.toml &
Navigate back out to the development directory of your choosing.
GraphiQL
All Kubos services which provide an HTTP interface have a special endpoint which can be used to send and receive GraphQL data via an in-browser graphical interface, GraphiQL.
This graphical interface makes it easier to create and consume more lengthy GraphQL requests.
To access this endpoint, make sure that your desired service is running, then open a web browser and
navigate to http://{ip}:{port}/graphiql.
The ip and port parameters should match the values specified for the service in its
config.toml file.
The resulting interface should look like this:
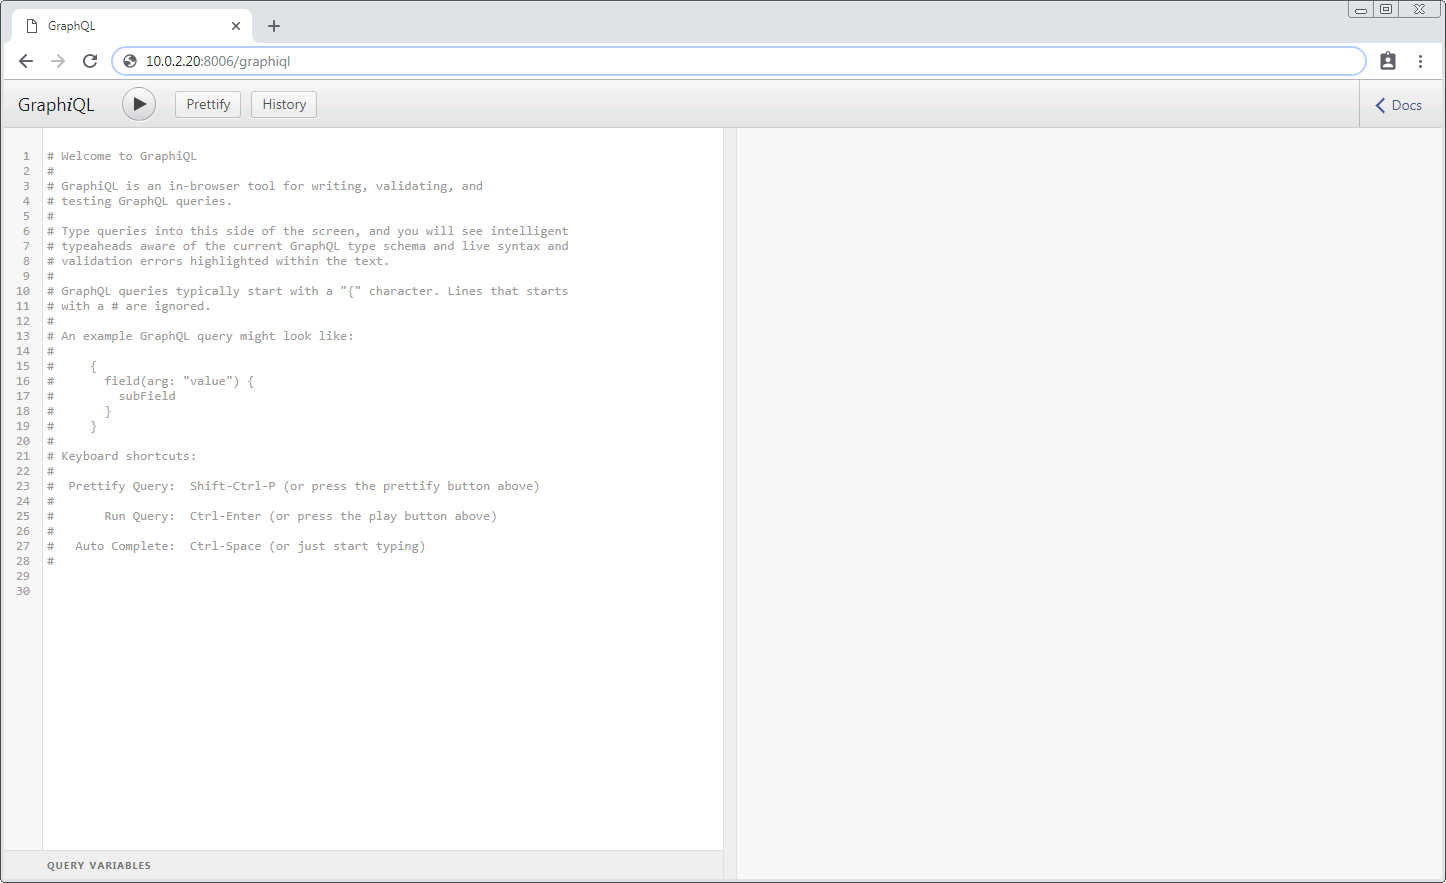
From here, you can enter any valid GraphQL query or mutation on the left-hand side and then run the request by clicking the triangle button. The resulting JSON response will be displayed on the right-hand side:

Please navigate to http://127.0.0.1:8000/graphiql in order to communicate with the applications
service for this tutorial.
If you are using the SDK, replace 127.0.0.1 with the IP address you defined
for your VM.
Note
You may also send GraphQL requests by using the curl facility. Requests should be sent as POST operations, specifying the GraphQL request inside the body of the message under the “query” parameter. The content-type for the message should be “application/json”.
For example:
$ curl 127.0.0.1:8004 -H "Content-Type: application/json" --data "{\"query\":\"{ping}\"}"
Registering
To register an application, we use the service’s register mutation.
It has the following schema:
mutation {
   register(path: String!) {
       success: Bool!,
       errors: String,
       entry: {
           app: {
               name: String!,
               version: String!,
               author: String!,
               executable: String!
           },
           active: Bool
       }
   }
}
The path input parameter specifies the directory where the application and manifest files reside.
Note
When interacting with the applications service on an OBC, this path parameter refers to a
location on the OBC, not in your local development environment
The registration process will copy all of the contents at that path, so care should be taken to ensure that only the desired application files are present.
The mutation can return the following fields:
success- Indicating the overall result of the register operation
errors- Any errors which were encountered while registering the application
entry- The registration information about the newly registered application. Will be empty if the registration process fails
app
name- The name of the registered application, taken from the manifest fileversion- The version number of this particular iteration of the application, taken from the manifest fileauthor- The author information for the application, taken from the manifest fileexecutable- The absolute path of the file which will kick off execution of the newly registered application file
active- Specifies whether the newly registered application is the current active version of the application which will be used when the service attempts to run it. This value should always betruewhen returned by this mutation
We’ll be interacting with our local applications service’s GraphiQL interface. Our service is using port 8000.
Our registration mutation should look like this:
mutation {
  register(path: "/home/user/my-app") {
    success,
    errors,
    entry {
      app {
        name
        executable
      }
    }
  }
}
The response should like this:
{
  "data": {
    "register": {
      "success": true,
      "errors": "",
      "entry": {
        "app": {
          "name": "my-mission-app",
          "executable": "/home/user/app-registry/my-mission-app/1.0/my-mission-app.py"
        }
      }
    }
  }
}
We can break down the resulting executable path like so:
/home/user/app-registry- This is the directory that the applications service uses to save all registered applications. We previously specified it in ourconfig.tomlfilemy-mission-app- The name of our application1.0- Our manifest file specified that this was version 1.0 of our applicationmy-mission-app.py- Our application file
Starting
We’ll go ahead and start our app now to verify it works using the startApp mutation.
It has the following schema:
mutation {
    startApp(name: String!, runLevel: String!, config: String, args: [String]): {
        success: Bool!
        errors: String,
        pid: Int
    }
}
The name input parameter specifies the name of the application which should be started.
The runLevel input parameter specifies which run case should be called; it must be either
“OnBoot” or “OnCommand”.
The config input parameter specifies a non-default configuration file which should be used.
The args input parameter allows the user to pass additional arguments through to the underlying
application.
The mutation returns three fields:
success- Indicating the overall result of the operationerrors- Any errors which were encountered while starting the applicationpid- The PID of the started application. This will be empty if any errors are encountered
Our request should look like this:
mutation {
  startApp(name: "my-mission-app", runLevel: "OnCommand", config:"/home/user/kubos/tools/default_config.toml") {
    success,
    pid
  }
}
And the response should look like this:
{
  "data": {
    "startApp": {
      "success": true,
      "pid": 575
    }
  }
}
The console where you started the app service should show the app’s exection messages:
Current available memory: 4390792 kB
Telemetry insert completed successfully
Updating
After looking at our output, it would be nice if our memory message included the timestamp of when the system was checked.
Let’s add the datetime module to our file with import datetime and then update the log line like so:
print("%s: Successfully pinged monitor service" % (str(datetime.datetime.now())))
Since this is a new version of our application, we’ll then need to update our manifest.toml
file to change the version key from "1.0" to "2.0".
After transferring both of the files into our remote folder, /home/user/my-app,
we can register the updated application using the same register mutation as before:
mutation {
  register(path: "/home/user/my-app") {
    success,
    errors,
    entry {
      app {
        name
        executable
      }
    }
  }
}
The response should look almost identical:
{
    "errors": "",
    "data": {
        "register": {
            "success": true,
            "errors": "",
            "entry": {
                "app": {
                    "name":"my-mission-app",
                    "executable":"/home/user/app-registry/my-mission-app/2.0/my-mission-app.py"
                }
            }
        }
    }
}
After running our app again with the startApp mutation, our output should now look like this:
2019-07-03 16:15:29.452626: Successfully pinged monitor service
Telemetry insert completed successfully
Verifying
We can now query the service to see the registered versions of our application using the apps query.
The query has the following schema:
{
    apps(name: String, version: String, active: Bool): [{
        app: {
            name: String!,
            version: String!,
            author: String!,
            executable: String!
        },
        active: Bool
    }]
}
By default, the query will return information about all versions of all registered applications. The queries input fields can be used to filter the results:
name- Returns entries with this specific application file nameversion- Returns only entries with the specified versionactive- Returns only the current active version of the particular application
The query has the following response fields:
app
name- The name of the applicationversion- The version number of this particular iteration of the applicationauthor- The author information for the applicationexecutable- The absolute path of the file which will kick off execution of the registered application file
active- Specifies whether this iteration of the application is the current active version which will be used when the service attempts to run it
We want to query the service to make sure that:
- We have two registered versions of our application
- Version 2.0 is the current active version
Our request should look like this:
{
  apps(name: "my-mission-app") {
    active
    app {
      name
      version
    }
  }
}
The response should look like this:
{
    "data": {
        "apps": [
            {
                "active":false,
                "app": {
                    "name":"my-mission-app",
                    "version":"1.0"
                }
            },
            {
                "active":true,
                "app": {
                    "name":"my-mission-app",
                    "version":"2.0"
                }
            }
        ]
    }
}